Generate Icons Directly from the Database
By Axialis Team
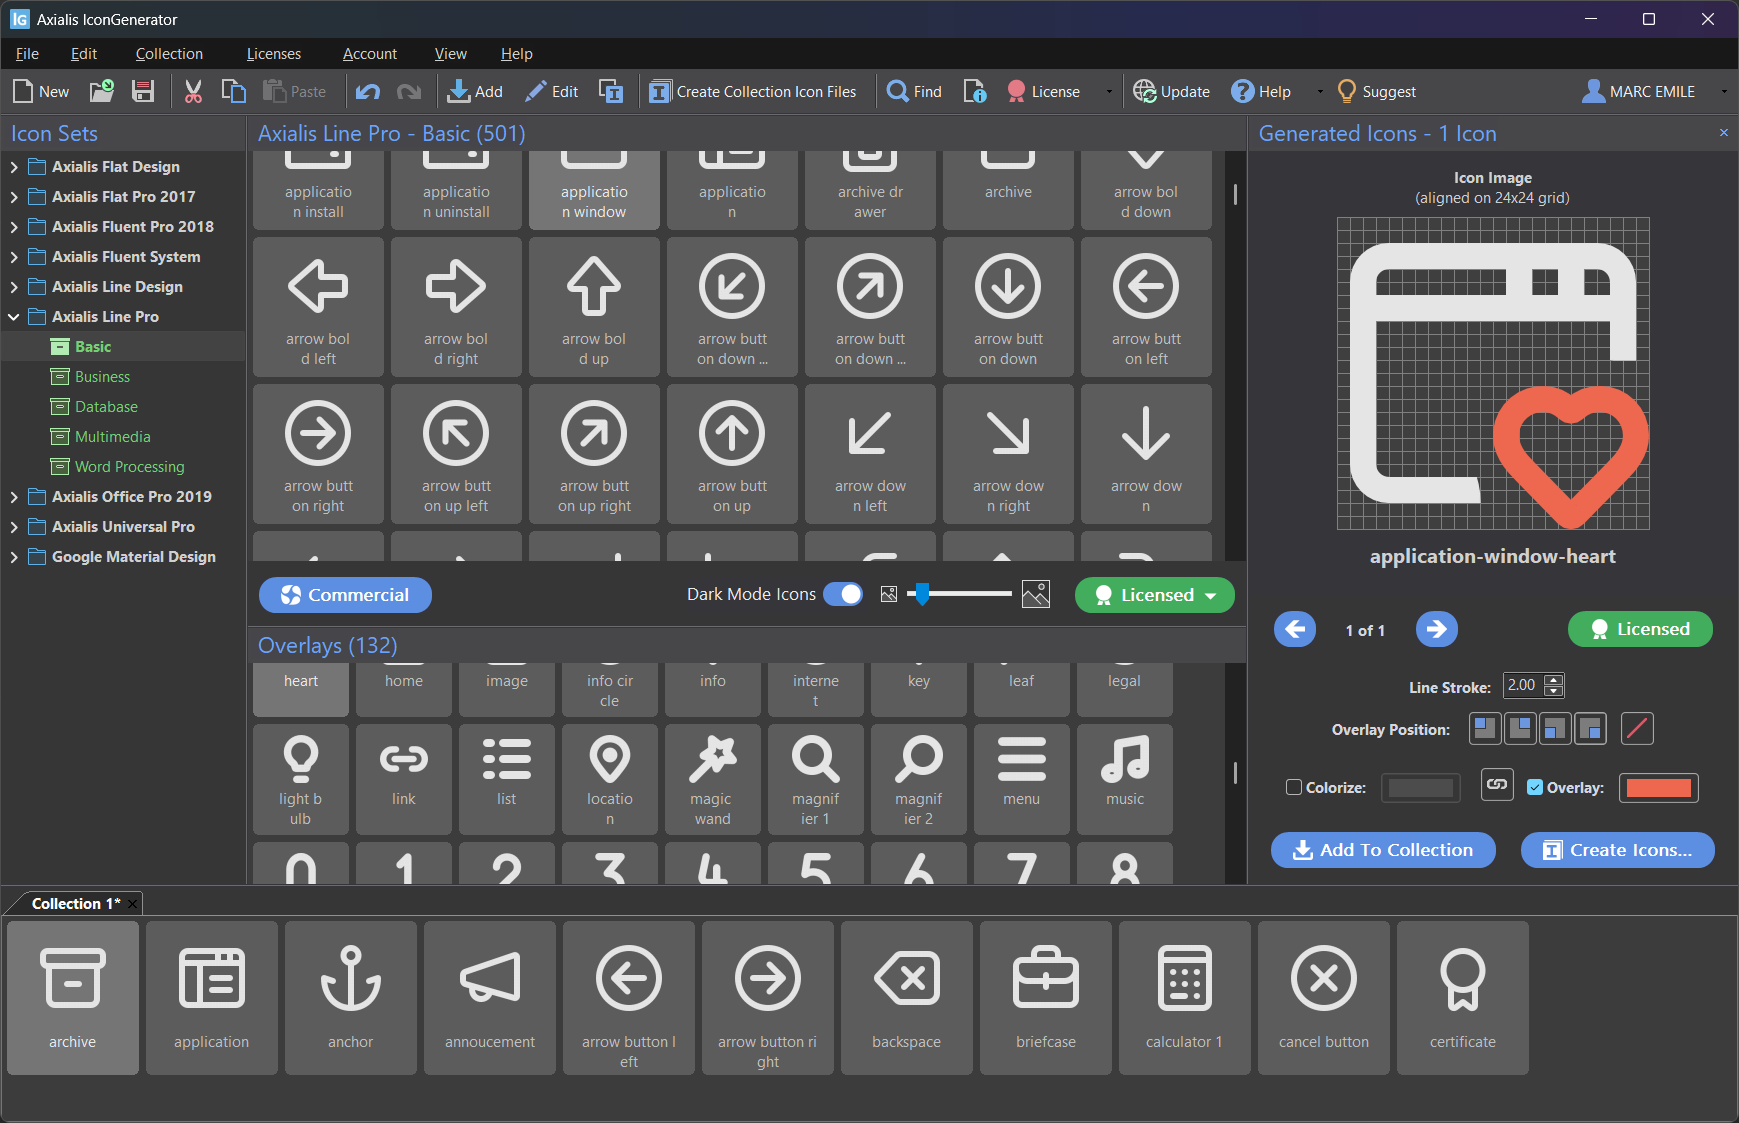
This workflow is ideal when you need quick exports without building a collection first. You choose icons, optionally apply overlays, preview generated results, then export files.
Step 1 - Select base icons
- Open an icon family and category in the Icon Sets panel.
- Select one or more icons in the icon list.
- Use
CtrlorShiftfor multi-selection.
Step 2 - Add overlays (optional)
- Choose one or more overlays in the Overlays panel.
- Review generated combinations in the Generated Icons panel.
- Change overlay positions with the corner buttons or F5-F8 shortcuts.
Step 3 - Inspect generated results
If you selected multiple icons and overlays, IconGenerator builds all combinations automatically. Example: 5 icons x 3 overlays = 15 generated outputs.
Step 4 - Export icon files
- Use File -> Create Generated Icon Files (F3).
- Select destination folder, formats, and sizes.
- Click OK to generate files.
When to switch to collections
Use direct generation for one-off tasks. Move to AXICP collections when you need a persistent icon list, naming conventions, and repeatable exports across releases.